Follow the step-by-step tutorial below to run Juicer on AWS. If you have any questions at all, please do not hesitate to contact us!
Launching an Instance
You'll first need to create an account with Amazon Web Services.
Log in to your acount by clicking on the Sign in to the AWS Console button.
Click on EC2 - Virtual Servers in the Cloud.

Click the Launch Instance button.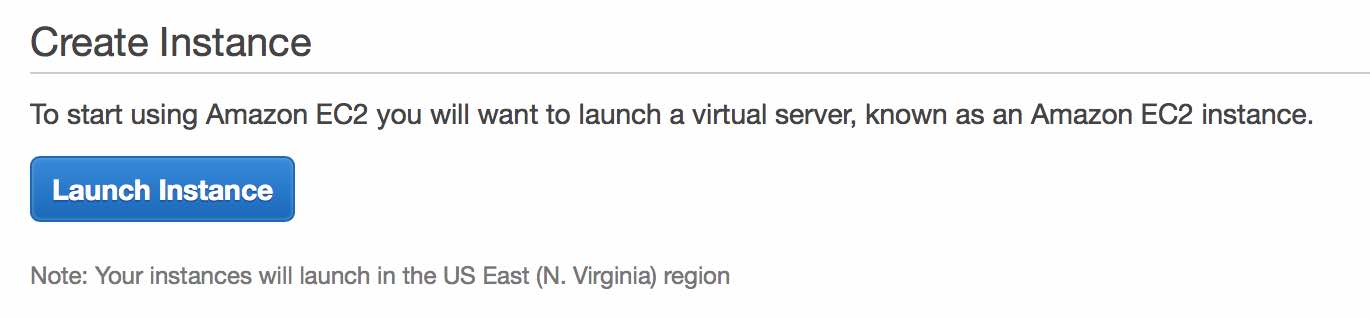
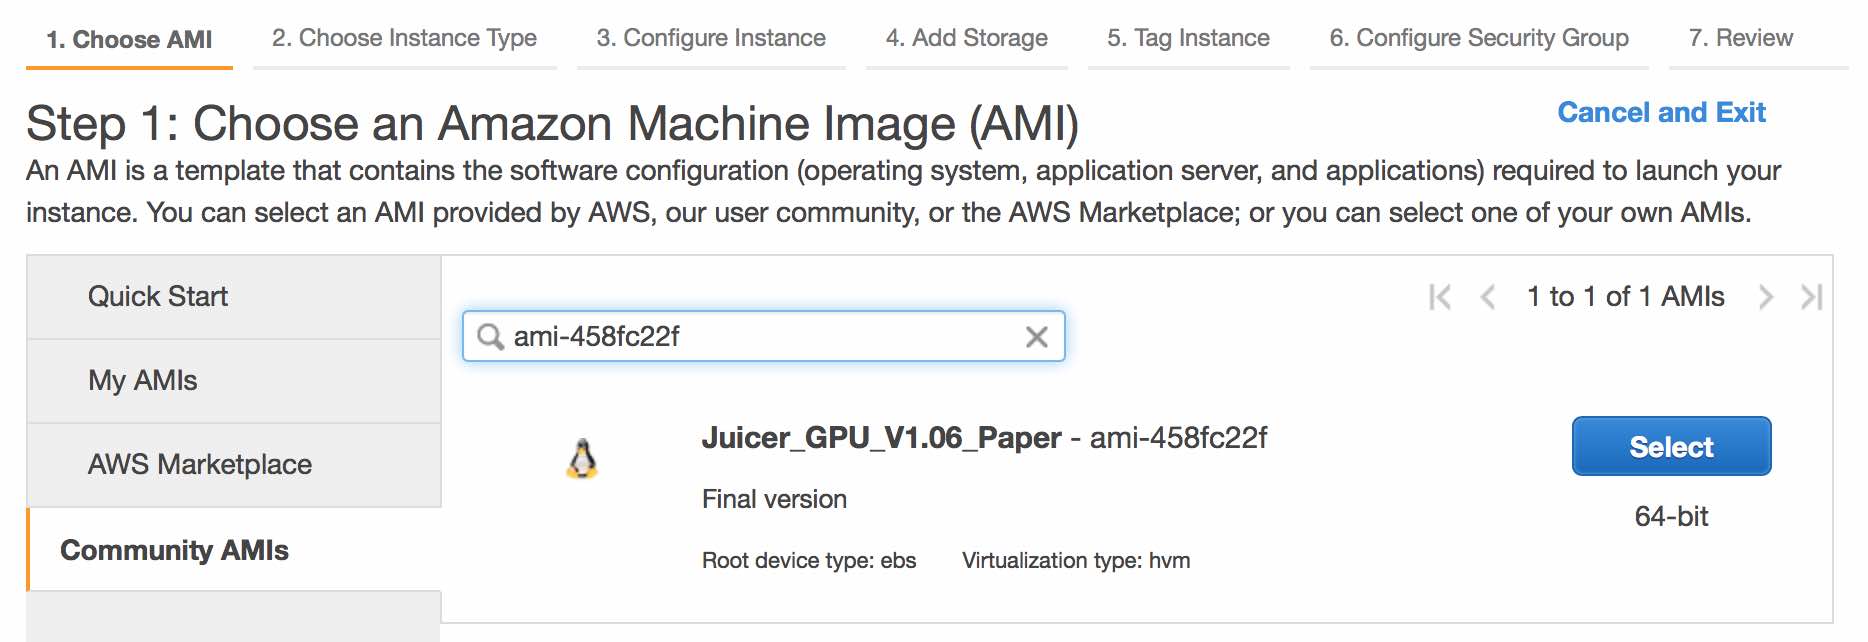
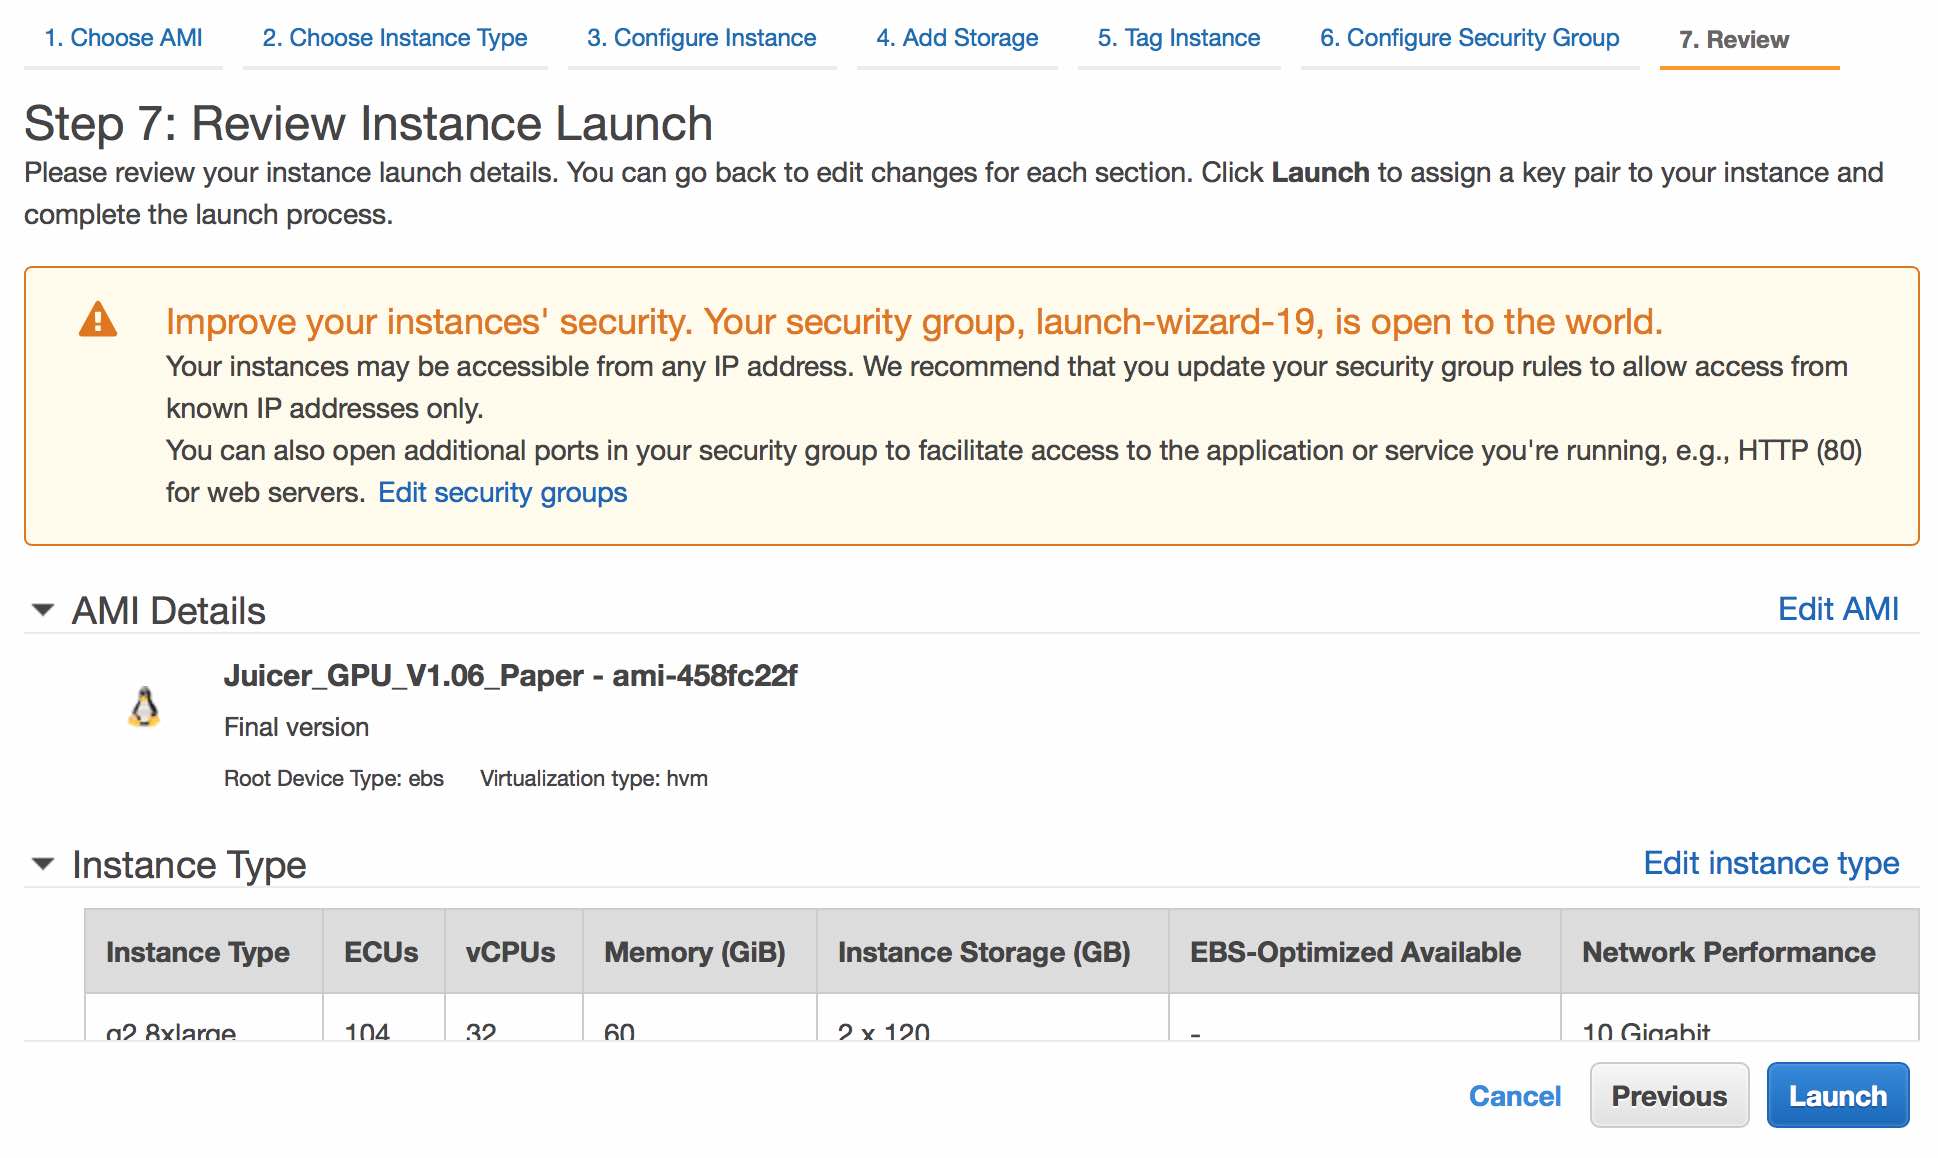
Click the Community AMIs link and search for ami-458fc22f. Then press the Select button.
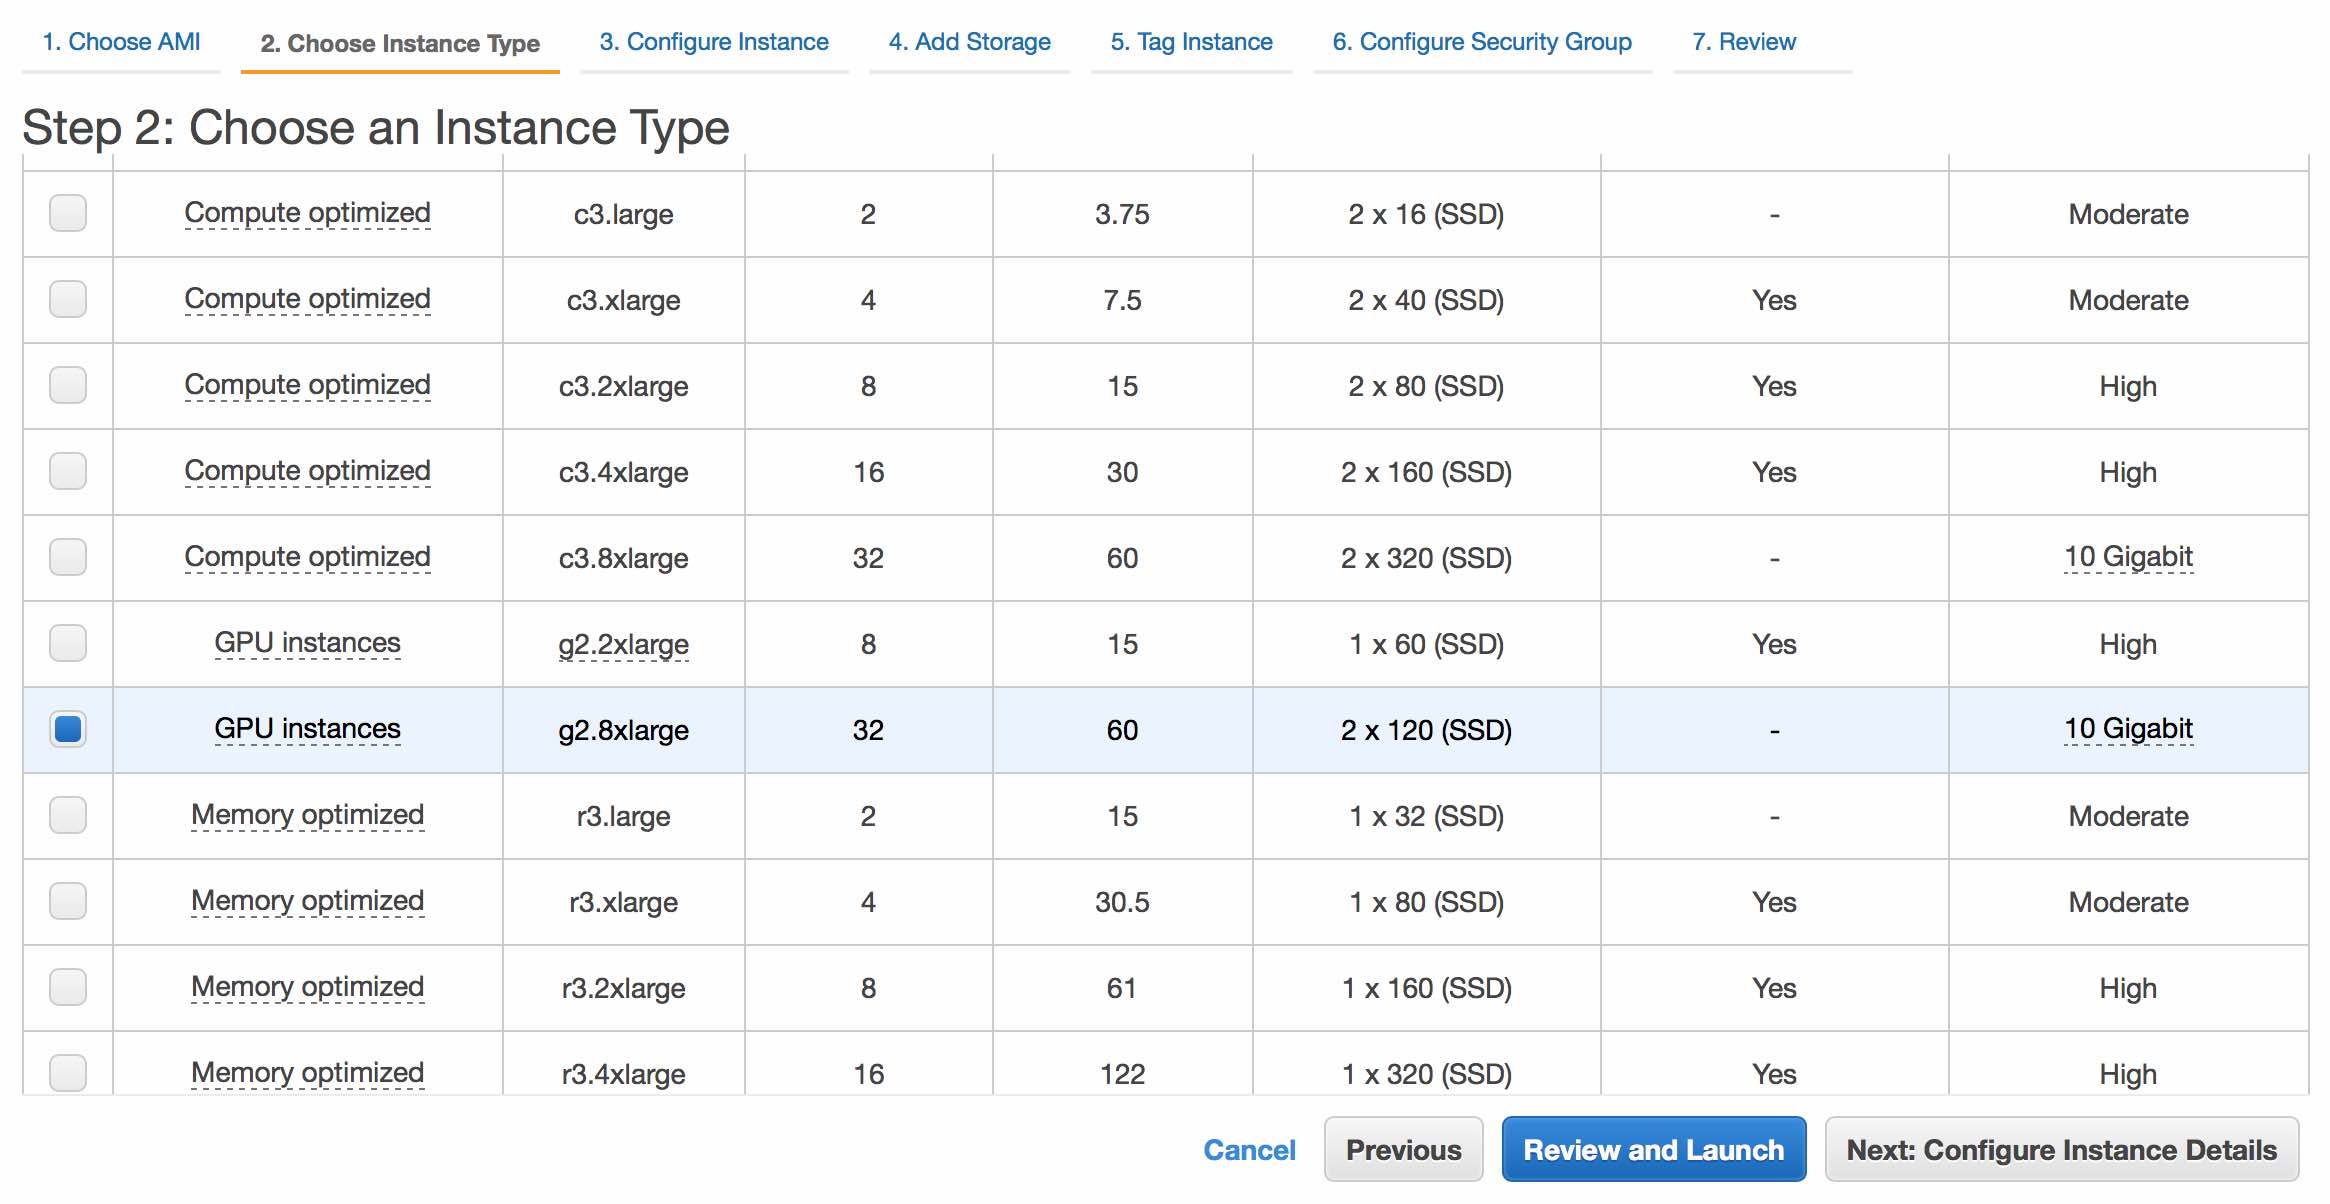
You'll now need to choose an instance type. We recommend an instance with at least 8 vCPUs. Processing times will depend on the number of vCPUs and amount of memory. At minimum, we suggest the m3.2xlarge, though any instance with 8+ vCPUs will be fine. To fully utilize Juicer, including post-processed loop calling (HiCCUPS), a GPU node is required. As such, we recommend the g2.8xlarge.
Click Next: Configure Instance Details to continue.
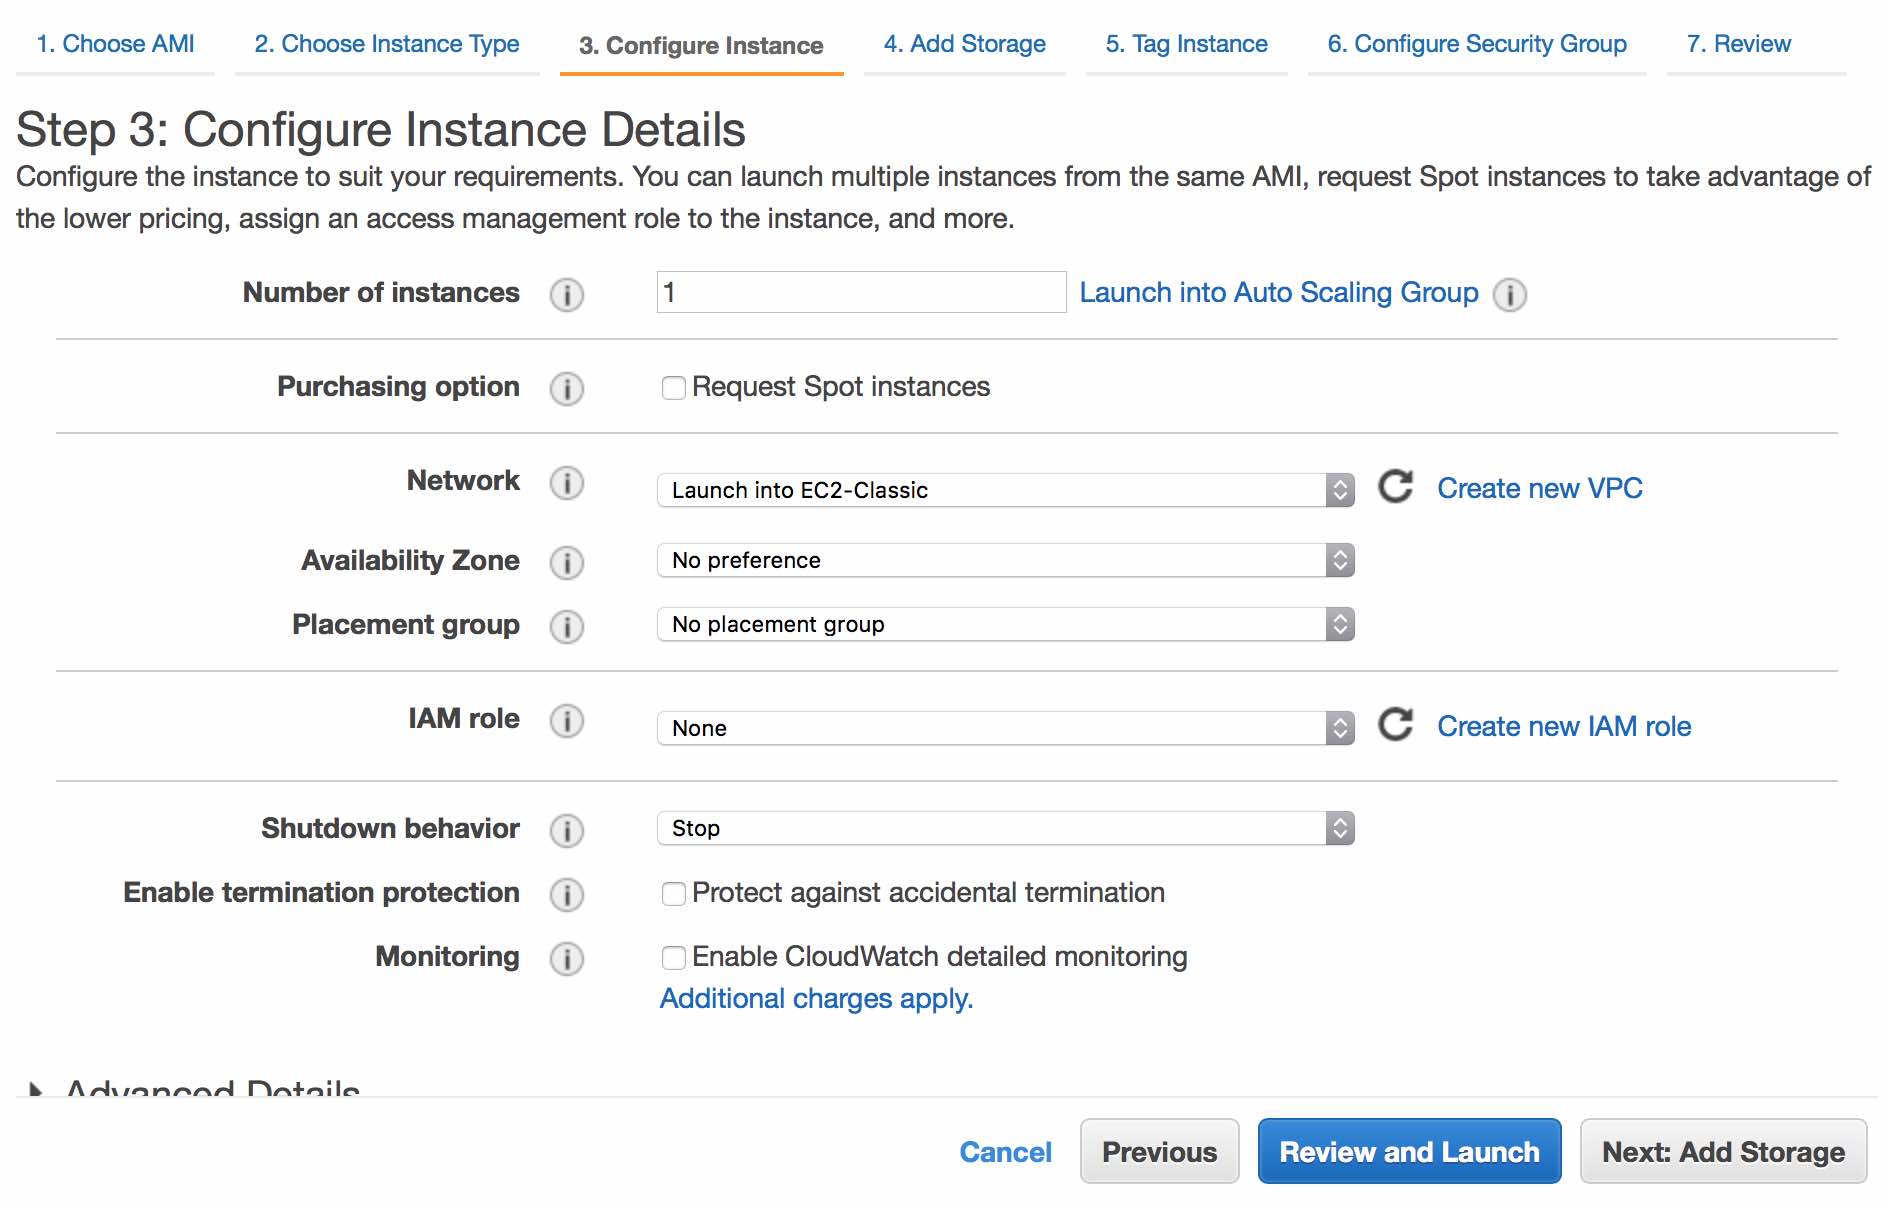
You now have the option to configure the instance. The defaults here are fine. Continue by clicking Next: Add Storage.
Unless you have a specific library size in mind, you should keep defaults for storage options. As a general guide, 1B PE reads will require about 5TB of storage. Continue by clicking Next: Tag Instance.

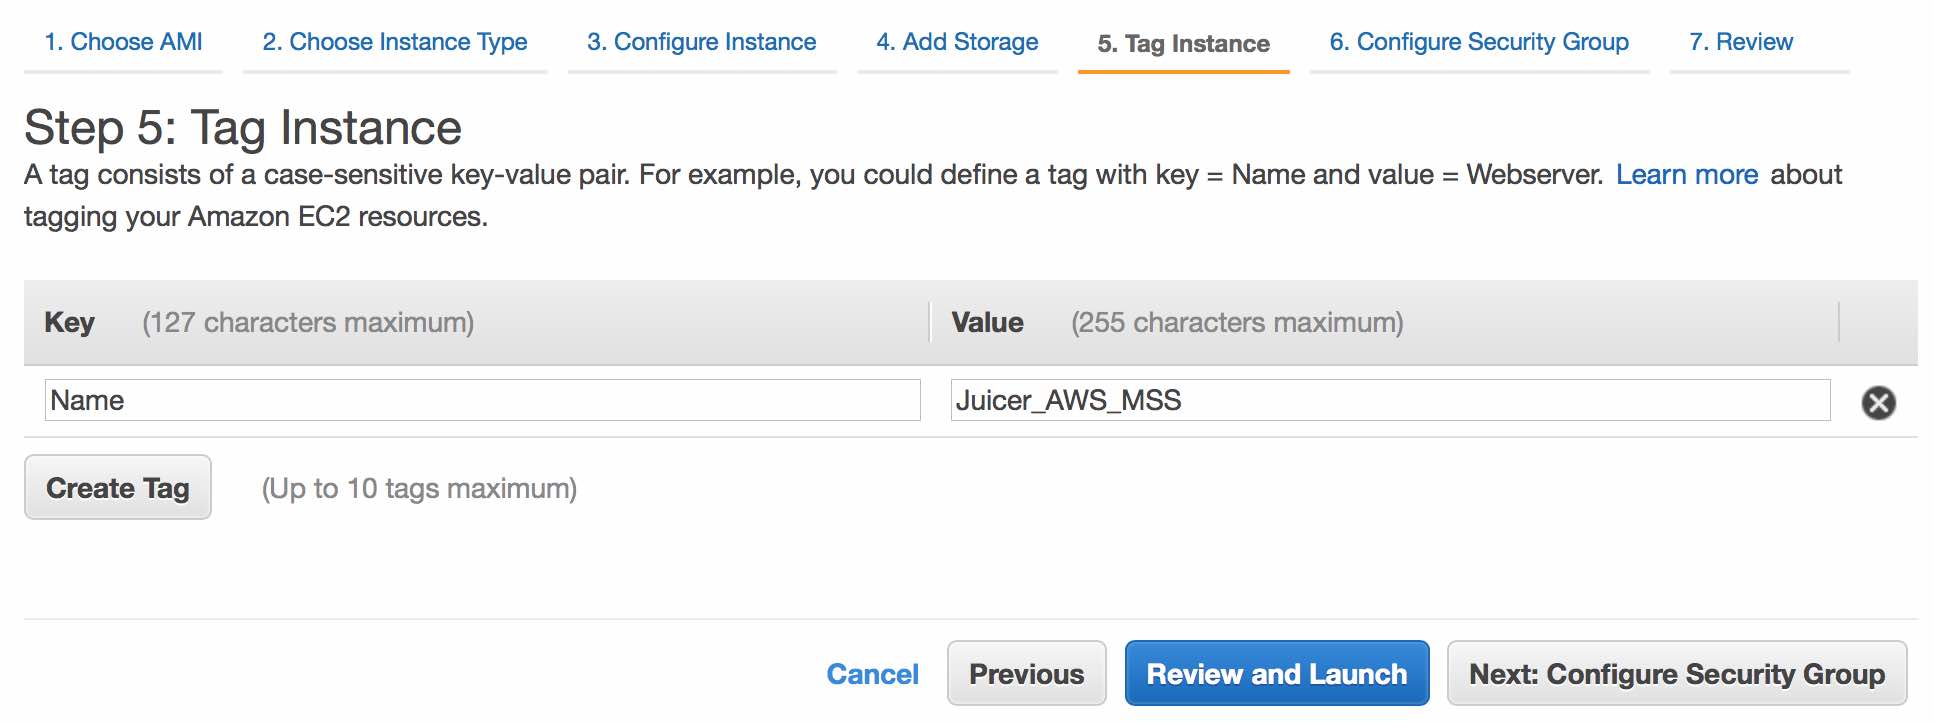
Name your instance (e.g. "Juicer_AWS"). Continue by clicking Next: Configure Security Group.
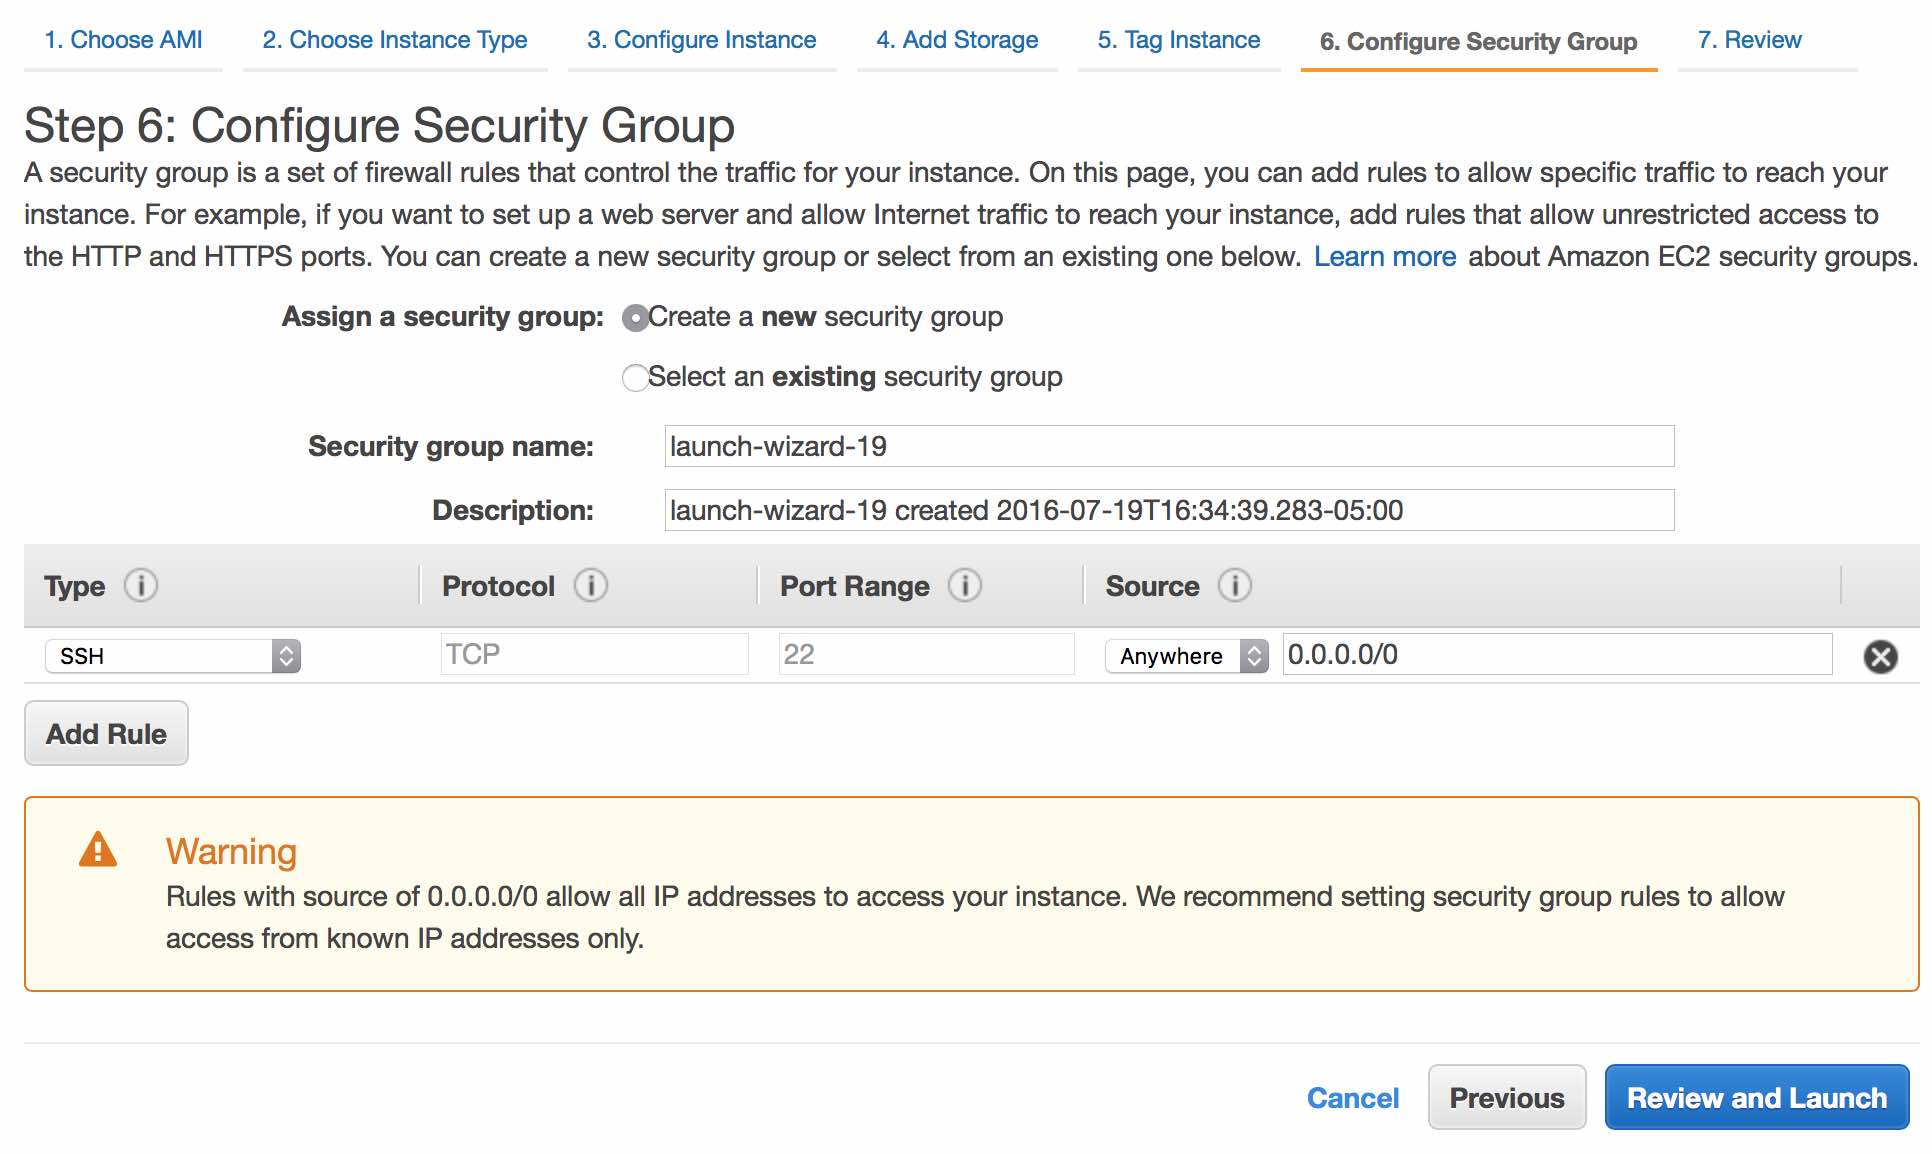
The default security rules are fine for now (although you can/should edit them later). Continue by clicking Review and Launch.
Review the settings, then click Launch.
Now you'll need to create a new key (e.g. "juicer_aws"). Download the key pair, and it should save the file to your Downloads folder. If the file is saved as a .pem.txt file, you can remove the .txt extension to make it a .pem file.
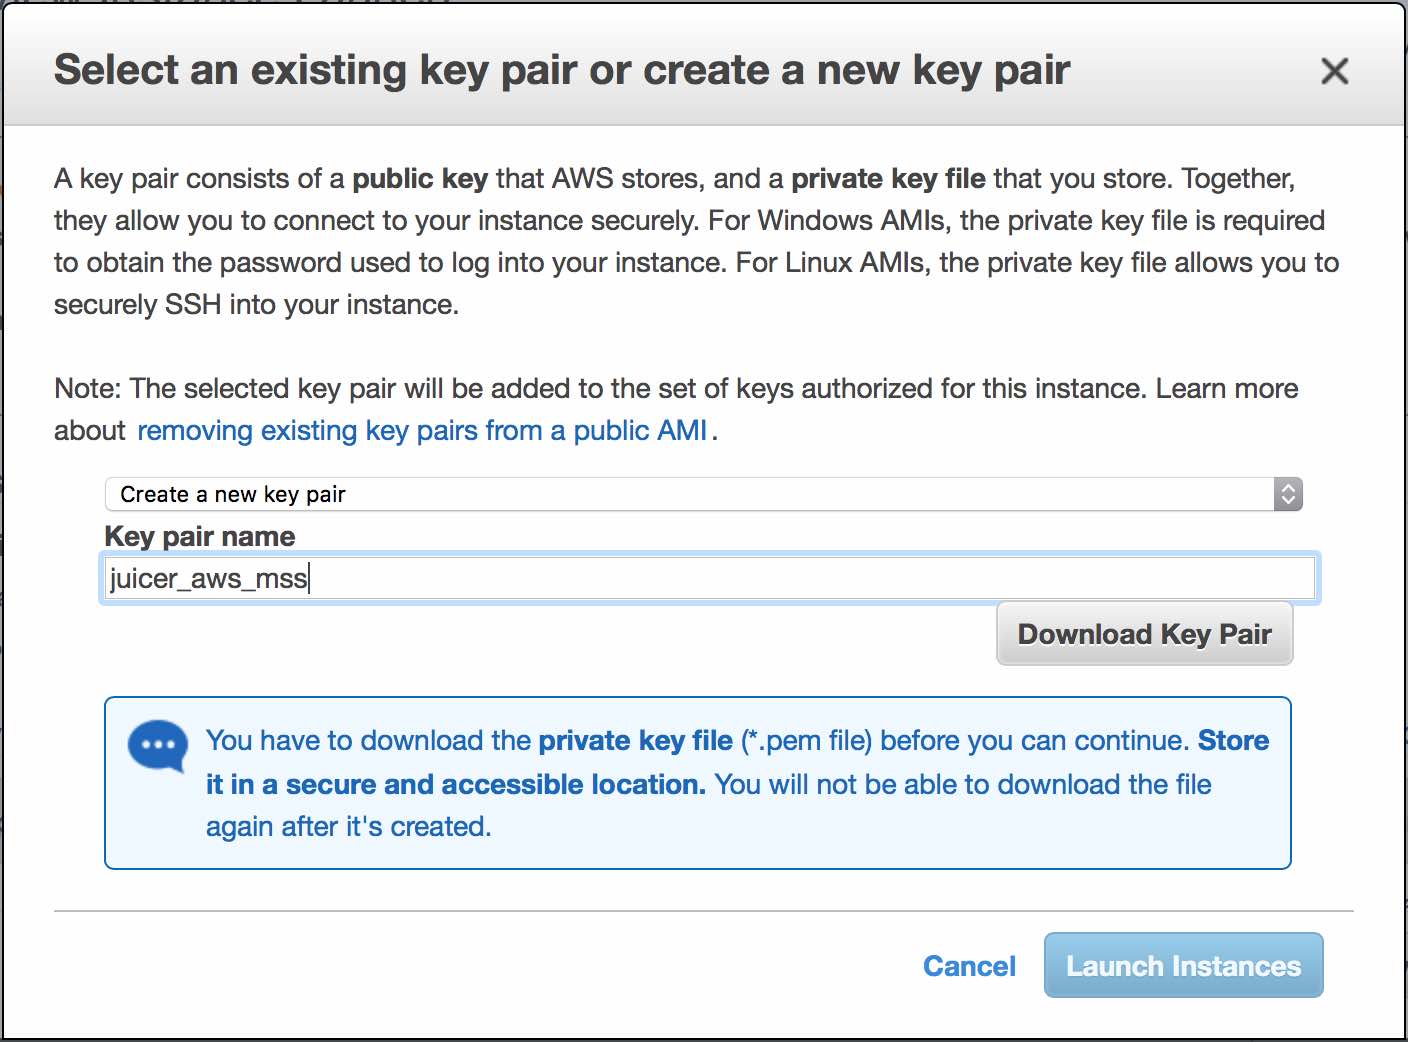
You should now click Launch Instances and see something like this:
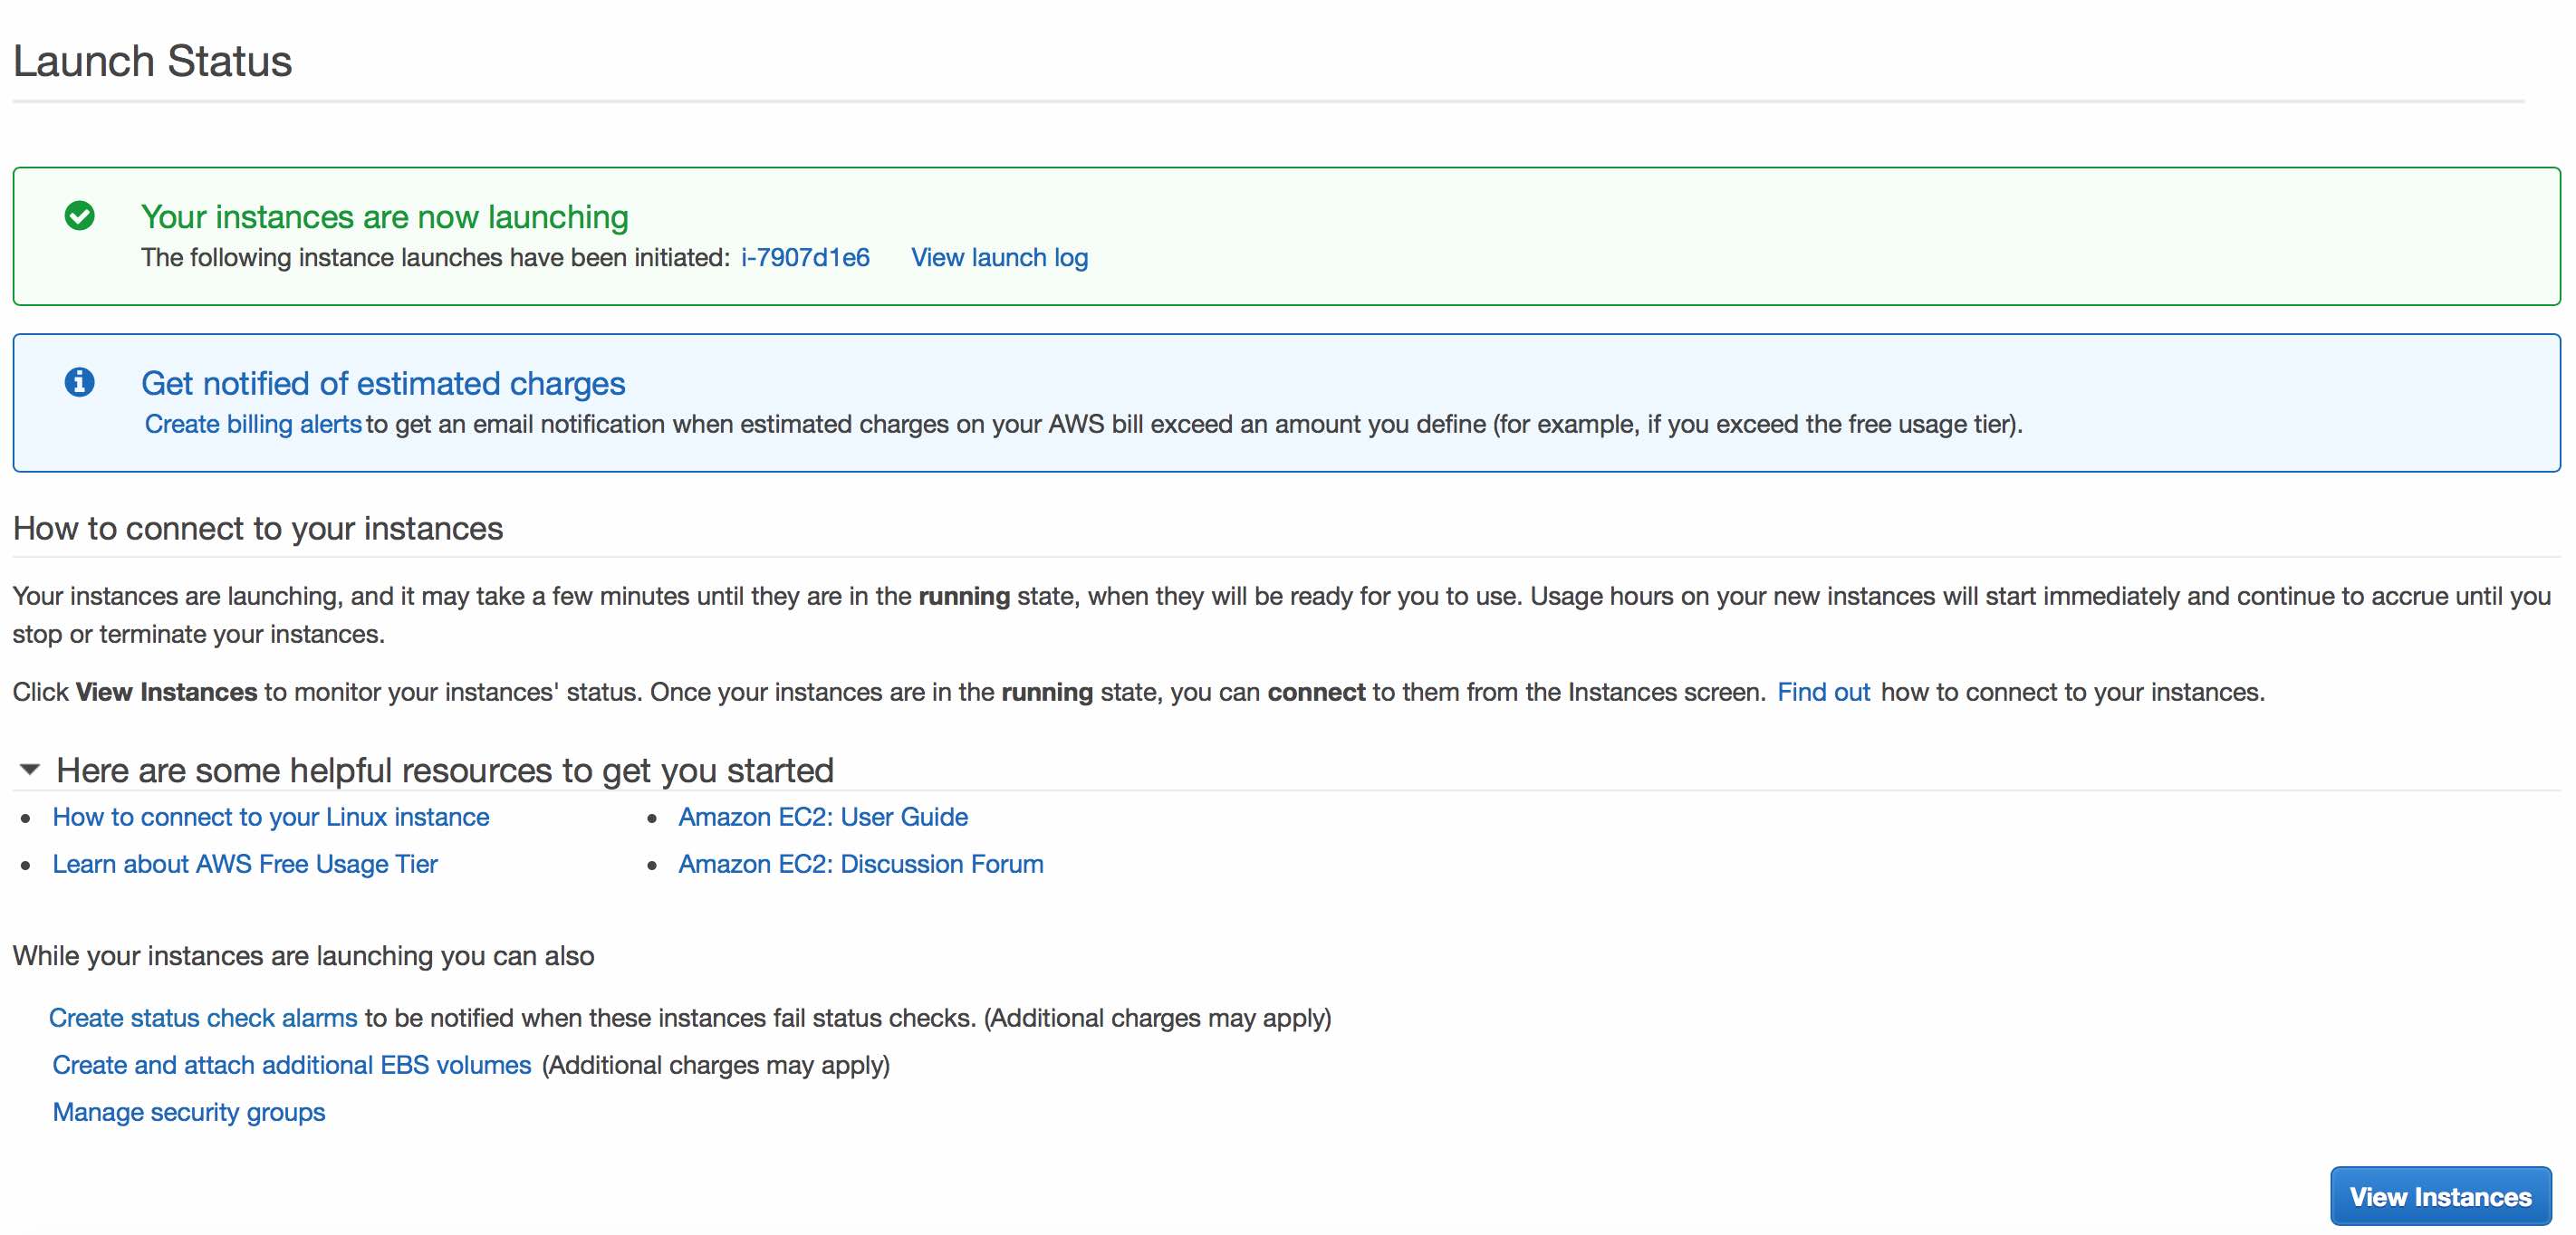
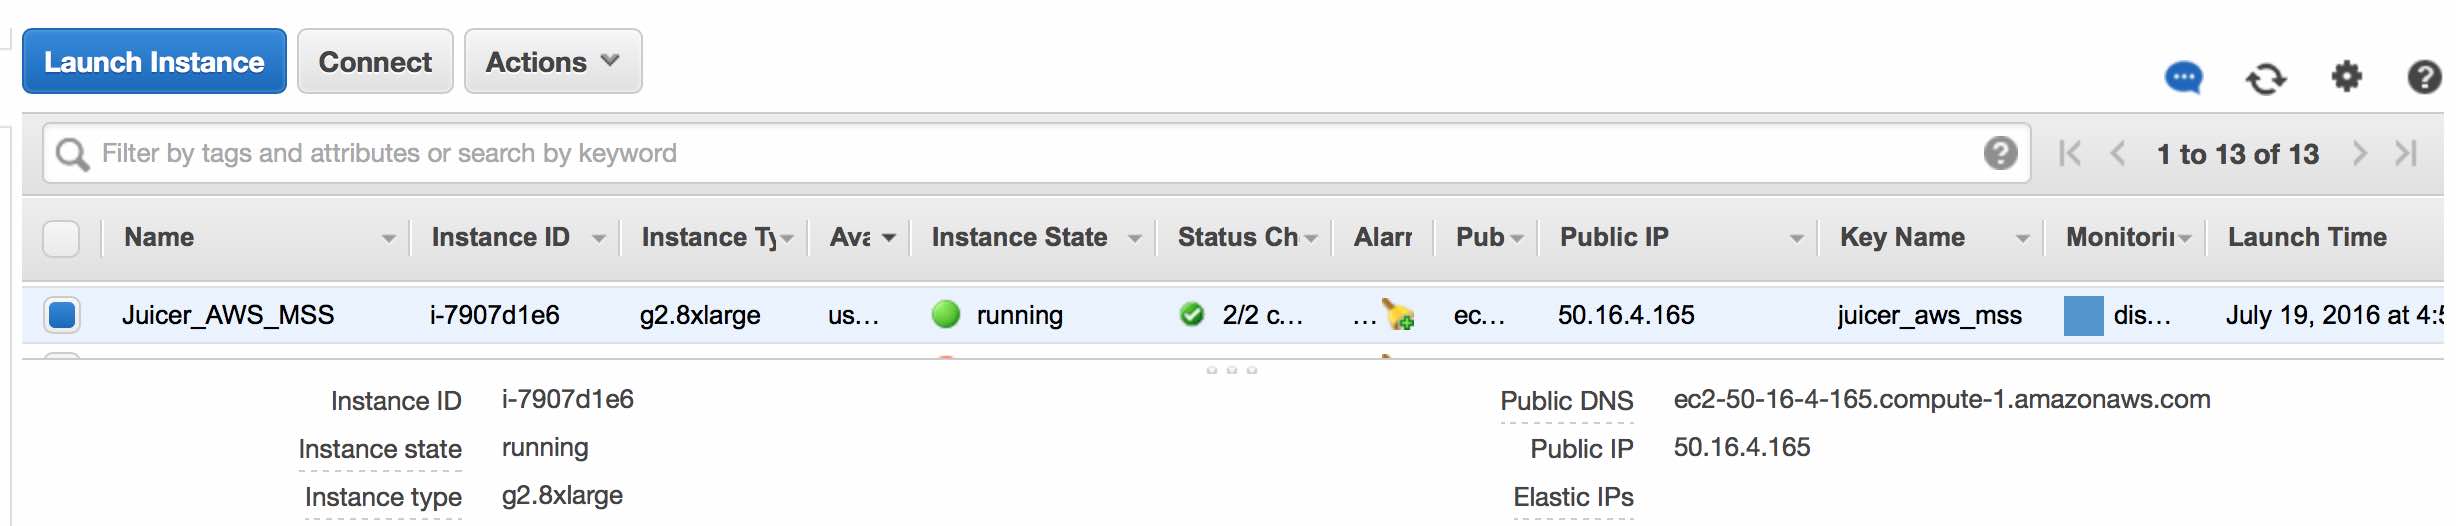
Click View Instances to see details regarding your new instance.
Log in to your acount by clicking on the Sign in to the AWS Console button.
Click on EC2 - Virtual Servers in the Cloud.
Click the Launch Instance button.
Click the Community AMIs link and search for ami-458fc22f. Then press the Select button.
You'll now need to choose an instance type. We recommend an instance with at least 8 vCPUs. Processing times will depend on the number of vCPUs and amount of memory. At minimum, we suggest the m3.2xlarge, though any instance with 8+ vCPUs will be fine. To fully utilize Juicer, including post-processed loop calling (HiCCUPS), a GPU node is required. As such, we recommend the g2.8xlarge.
Disclaimer: Running EC2 has a cost by the hour - as long as the instance is running, you will be charged. Please make sure you understand Amazon's pricing policies before you start working with AWS.Click Next: Configure Instance Details to continue.
You now have the option to configure the instance. The defaults here are fine. Continue by clicking Next: Add Storage.
Unless you have a specific library size in mind, you should keep defaults for storage options. As a general guide, 1B PE reads will require about 5TB of storage. Continue by clicking Next: Tag Instance.
Name your instance (e.g. "Juicer_AWS"). Continue by clicking Next: Configure Security Group.
The default security rules are fine for now (although you can/should edit them later). Continue by clicking Review and Launch.
Review the settings, then click Launch.
Now you'll need to create a new key (e.g. "juicer_aws"). Download the key pair, and it should save the file to your Downloads folder. If the file is saved as a .pem.txt file, you can remove the .txt extension to make it a .pem file.
This file will act as a password of sorts, and should be saved in a secure location on your computer.You should now click Launch Instances and see something like this:
Click View Instances to see details regarding your new instance.
Connecting to the Instance
Note: get the public IP address from the View Instances page (50.16.4.165 in the example here).AWS has detailed instructions for how to connect to your instance. We will briefly summarize them below.
UNIX (OS X/Linux)
Open Terminal and go to the folder containing the private key (.pem file).cd /path/to/folderUpdate the permissions for the private key.
chmod 600 juicer_aws.pemConnect with the AWS instance (ssh via public IP).
ssh -i juicer_aws.pem [email protected]
Windows
Source: AWS InstructionsDownload PuTTY and PuTTYgen. Run PuTTYgen. Under Load an existing private key file, select the existing .pem file that was created above (e.g. juicer_aws.pem).
Do not select "Generate a public/private key pair". A pop-up will appear saying you have imported a key. You'll then have the option to Save private key. Save it without a passphrase as juicer_aws.ppk.Launch PuTTY. Expand the tabs under Connection>SSH>Auth. On the Auth page, there's an option to browse/load a private key file for authentication. Load the juicer_aws.ppk file here. Then go to the main session page. Use ubuntu@<public_ip> as the host name. Select Open.
First-time Tweaks
The very first time that you log into the instance (or if you ever stop and restart an instance), you'll need to configure LSF. First, find your internal IP address.
This is different from your public IP address.
/sbin/ifconfig | grep "inet addr" | awk -F: '{print $2}' | awk '{print $1}' |head -1
Now change the last line in the hosts file to list the internal IP address
sudo vim /etc/hostsThen set the hostname and restart the services
sudo hostname HEADNODE
sudo service openlava restart
sudo /etc/init.d/networking restart
You should also update your password (default is aidenlab2015)
sudo passwd ubuntuBefore running Juicer for the first time, you should also update to the lastest scripts from Github by running the following
cd ~
wget https://github.com/theaidenlab/juicer/archive/master.zip
unzip master.zip
sudo cp -TR juicer-master/AWS/scripts /opt/juicer/scripts
Running the Juicer Pipeline
Switch to the working directory
Switch to the experiment's directory (outside of the fastq folder)
Download the .hic, loop, and contact domain files from the aligned directory and view them with Juicebox!
cd /opt/juicer/workCreate a new directory for each experiment. Also create a fastq folder in each experiment's directory.
mkdir -p EXP1/fastqCopy all your fastq files into the appropriate fastq folder (e.g.
/opt/juicer/work/EXP1/fastq).Switch to the experiment's directory (outside of the fastq folder)
cd /opt/juicer/work/EXP1/And issue the juicer command (default assumes -g hg19 -s MboI)
/opt/juicer/scripts/juicer.shWait for script to finish. Once all jobs have been submitted, you can check on their status
bjobsLSF will eventually report
No unfinished job foundThe output file (e.g.
/opt/juicer/work/EXP1/lsf.out) should end with the line
Pipeline successfully completedResults will be available in the aligned folder under your work directory (e.g.
/opt/juicer/work/EXP1/aligned).Download the .hic, loop, and contact domain files from the aligned directory and view them with Juicebox!
Juicer is currently in its alpha release. For general questions, please use the forum. If you have further difficulties using Juicer, please do not hesitate to contact us.